Exposure Triangle Explained: Aperture, Shutter Speed and ISO
Learn the exposure triangle in simple terms. See how aperture, shutter speed and ISO affect brightness, blur and noise, with camera settings to try.
Have you ever taken a photo that looked too dark, too bright or blurry, even though the scene looked fine to your eyes? Three camera settings can help explain why: aperture, shutter speed and ISO.
Together, they are called the exposure triangle. Learning what each one does gives you more control over your photos, even if you are just starting out.
First, what is exposure?
Exposure describes how bright or dark your photo looks. If a photo is too dark, we call it underexposed. If bright areas lose important detail, it may be overexposed.
The goal is not always to make every photo perfectly bright. A darker photo can create a certain mood. What matters is that the result looks the way you intended.
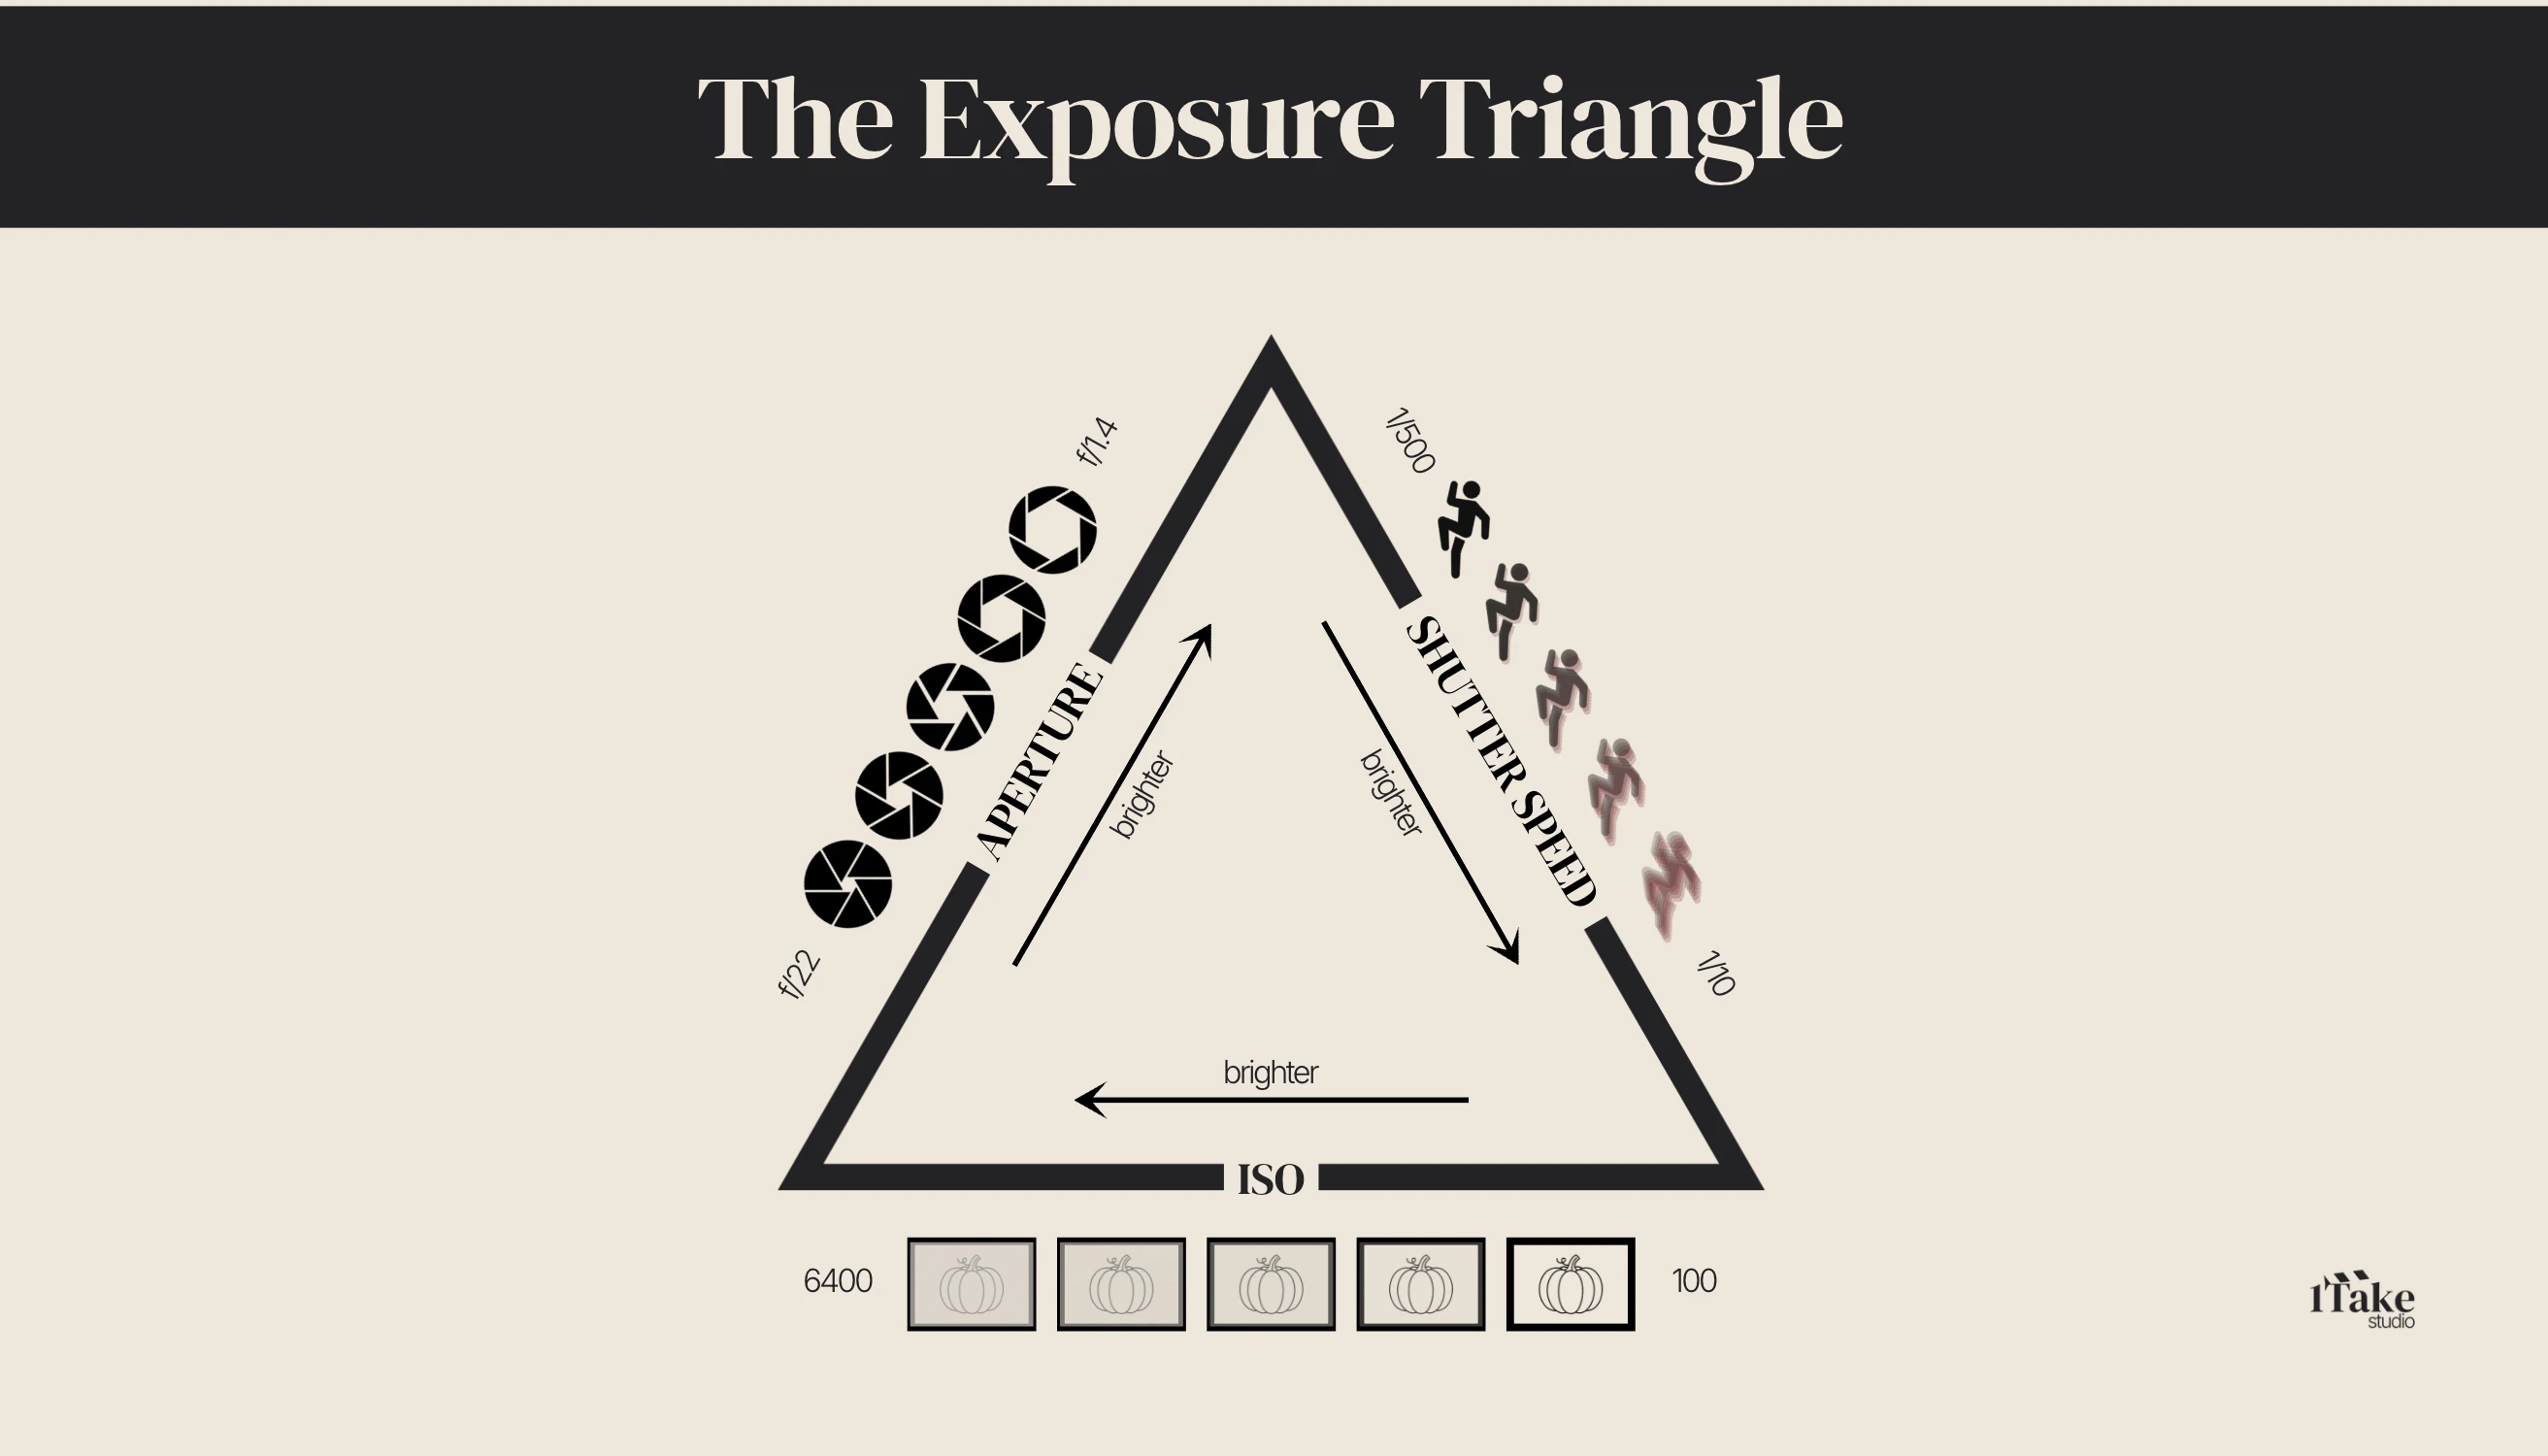
Aperture and shutter speed change how much light reaches the camera's sensor. ISO changes how strongly the camera uses the light it captured. All three affect the brightness of the finished image, but each one also changes how the photo looks in another way.
1. Aperture: How much of the scene looks sharp?
Aperture is the opening inside your lens. It controls how much light passes through the lens.
You will see aperture written as f/1.8, f/2.8, f/4, f/8 and so on. Here is the part that often confuses beginners:
- A smaller f-number, such as f/1.8, means a wider opening. More light gets in, and the background can look blurrier.
- A larger f-number, such as f/8, means a smaller opening. Less light gets in, and more of the scene can look sharp.
For a portrait with a soft background, try f/2.8 if your lens allows it. For a group photo where people stand in different rows, you might try f/5.6 or f/8.
Aperture does not control background blur by itself. The distance between your camera, your subject and the background also matters.
2. Shutter speed: Do you freeze movement or show it?
Shutter speed controls how long the camera collects light for each photo.
It is often shown as a fraction of a second, such as 1/1000, 1/250 or 1/30.
- 1/1000 second is very fast. It is useful for freezing fast movement, like a person jumping or a dog running.
- 1/250 second can work well for people walking or moving casually.
- 1/30 second lets in more light, but moving subjects and shaky hands can create blur.
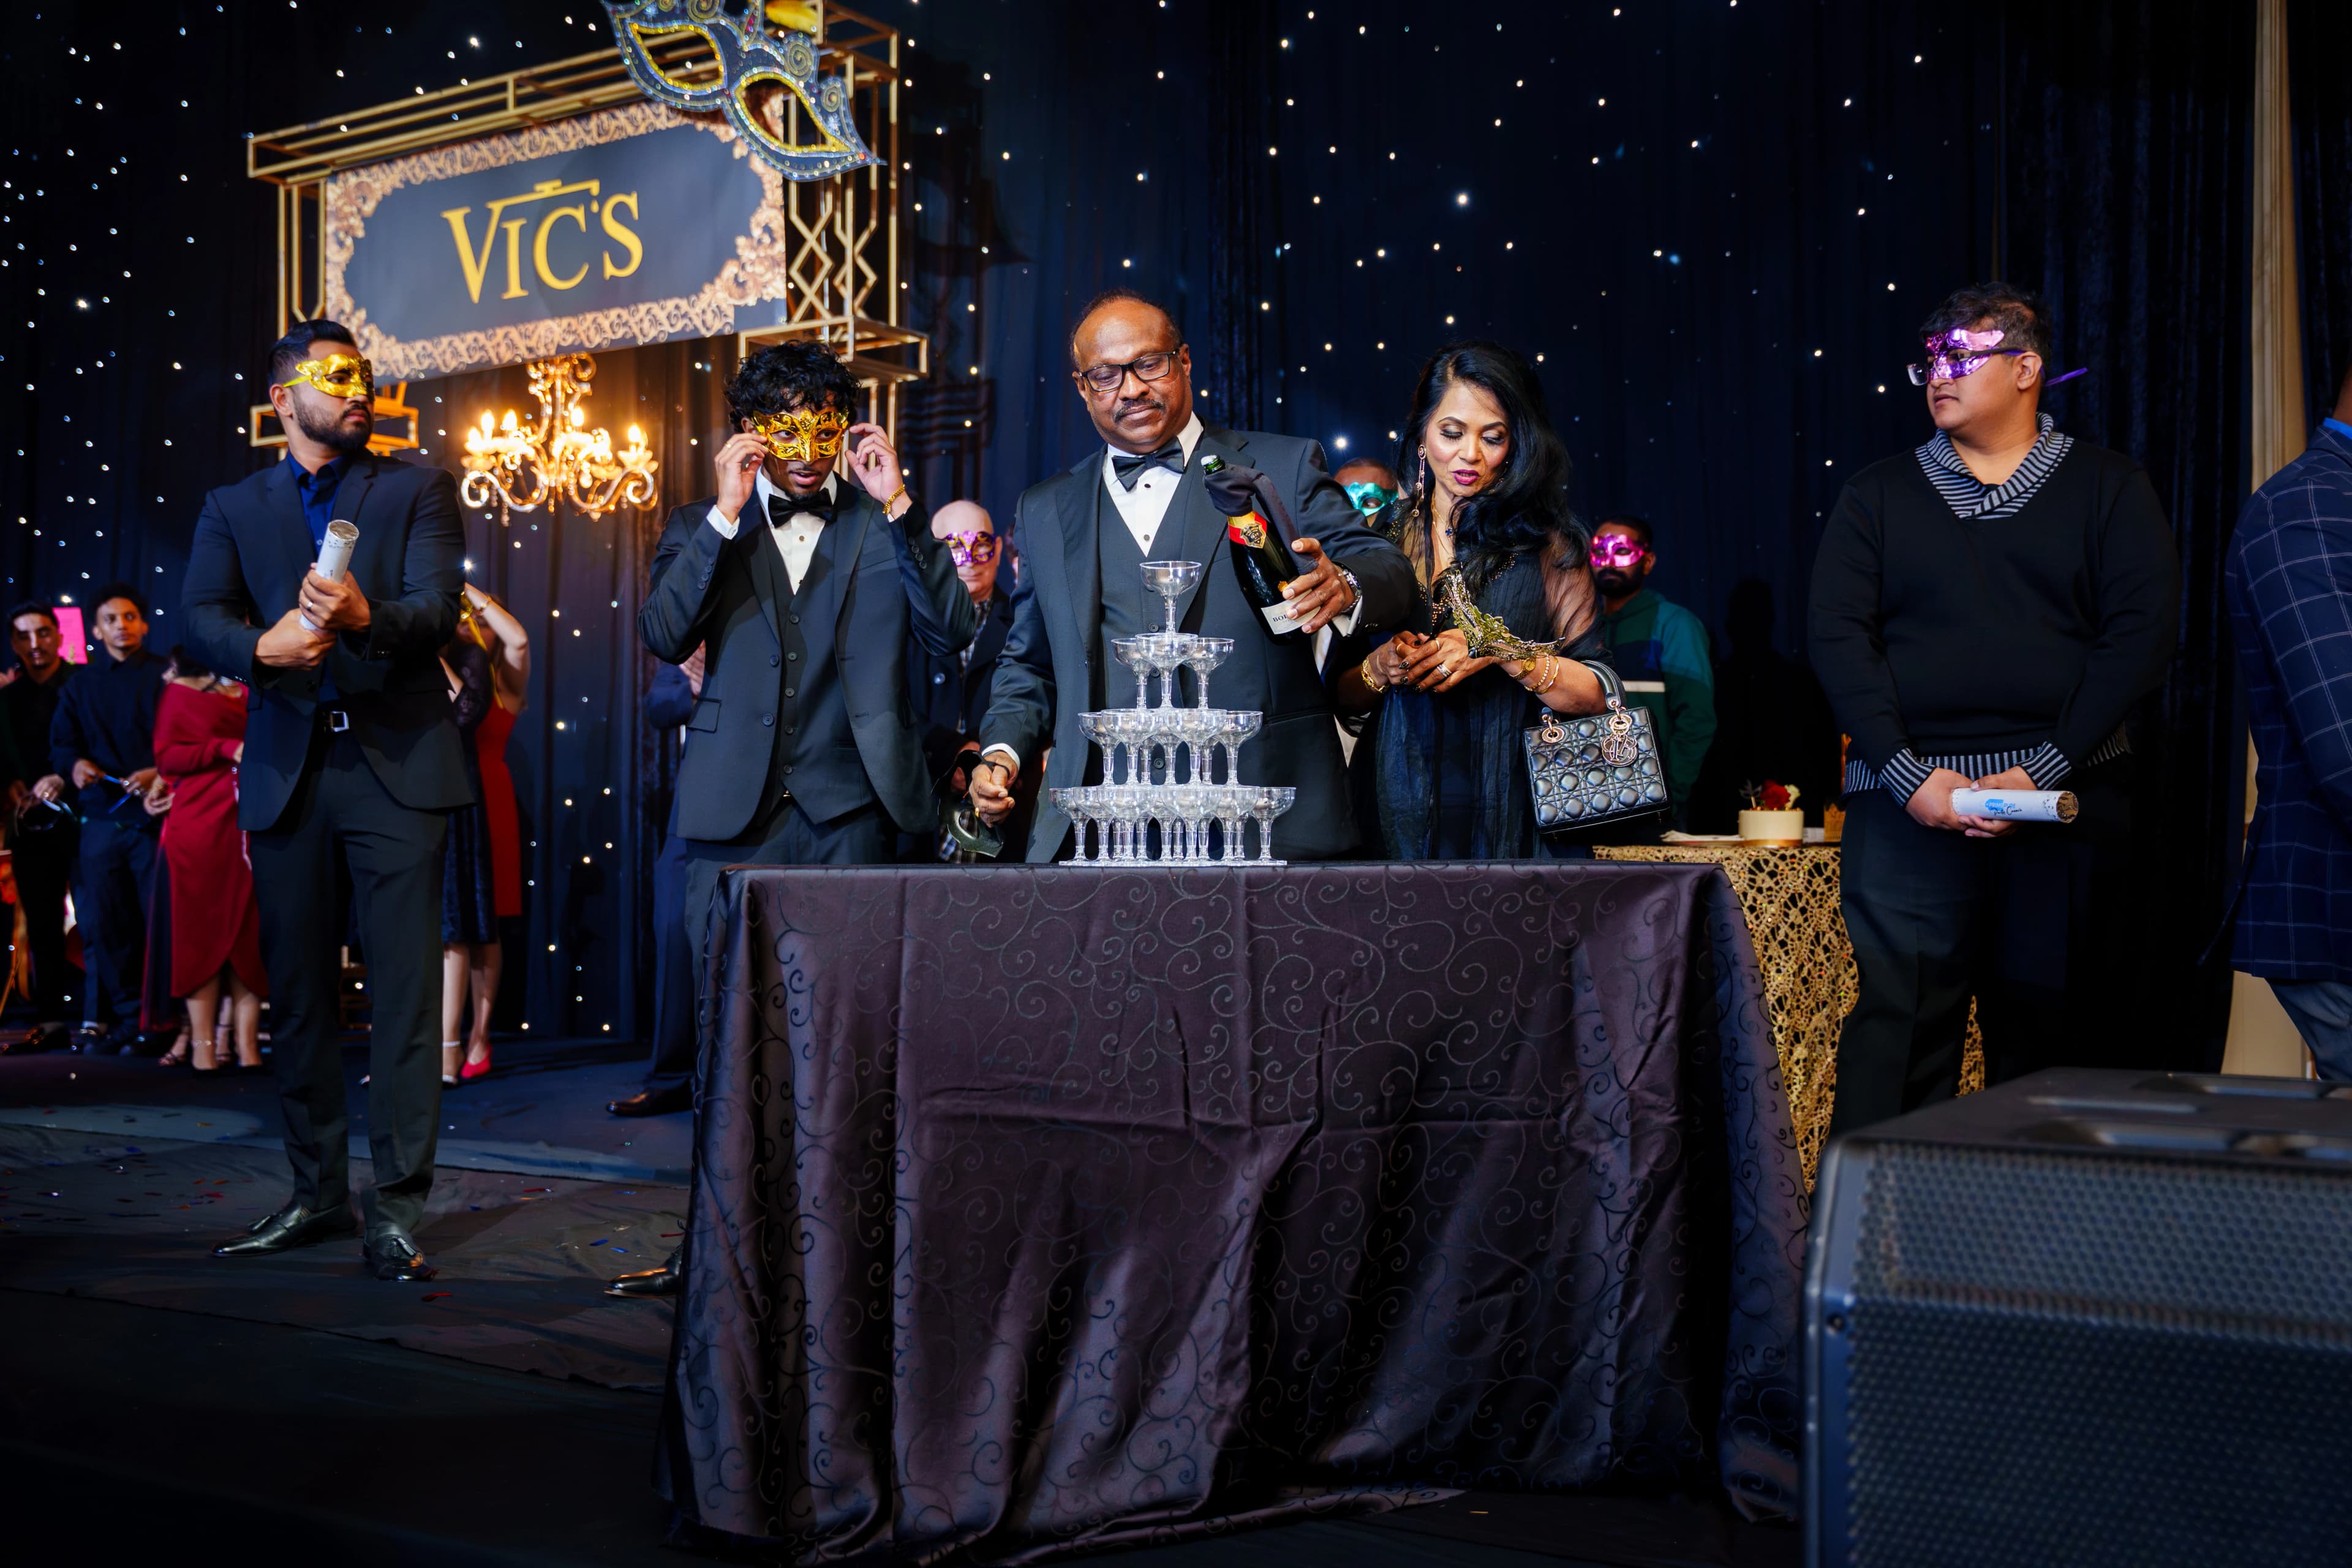
A slow shutter speed is not always a mistake. You can use it on purpose to make flowing water look smooth, car lights turn into trails, or the dance floor look even more exciting. You will often need a tripod for those landscape shots, however handheld shots provide it's own special effects, like the sample image below.

3. ISO: How bright can you make the image?
ISO controls how much your camera amplifies the signal from the sensor to produce a brighter image. Raising ISO does not let more physical light into the lens.
- ISO 100 or 200 is a useful starting point in bright conditions.
- ISO 800 or 1600 may help indoors or when the light is fading.
- ISO 3200 or higher may be needed in darker places, especially when you need a fast shutter speed.
The trade-off is that higher ISO can make noise, which looks like grain or coloured speckles, more visible. How noticeable it is depends on your camera, the lighting and how you edit the photo.
Do not be afraid of high ISO when you need it. A sharp photo with some noise is often better than a blurry photo taken at a very low ISO.
How the three settings work together
Imagine you are taking a photo of someone walking through a park at sunset.
You want the person sharp, the background a little blurry and the image bright enough to see their face. You could start with:
| Setting | Example | Why |
|---|---|---|
| Aperture | f/2.8 | Lets in more light and helps soften the background |
| Shutter speed | 1/250 second | Helps keep a walking person sharp |
| ISO | Auto ISO | Lets the camera adjust brightness as the light changes |
These are starting points, not rules. If your photo is too dark and the camera is already at a high ISO, you may need a wider aperture, a slower shutter speed or more light.
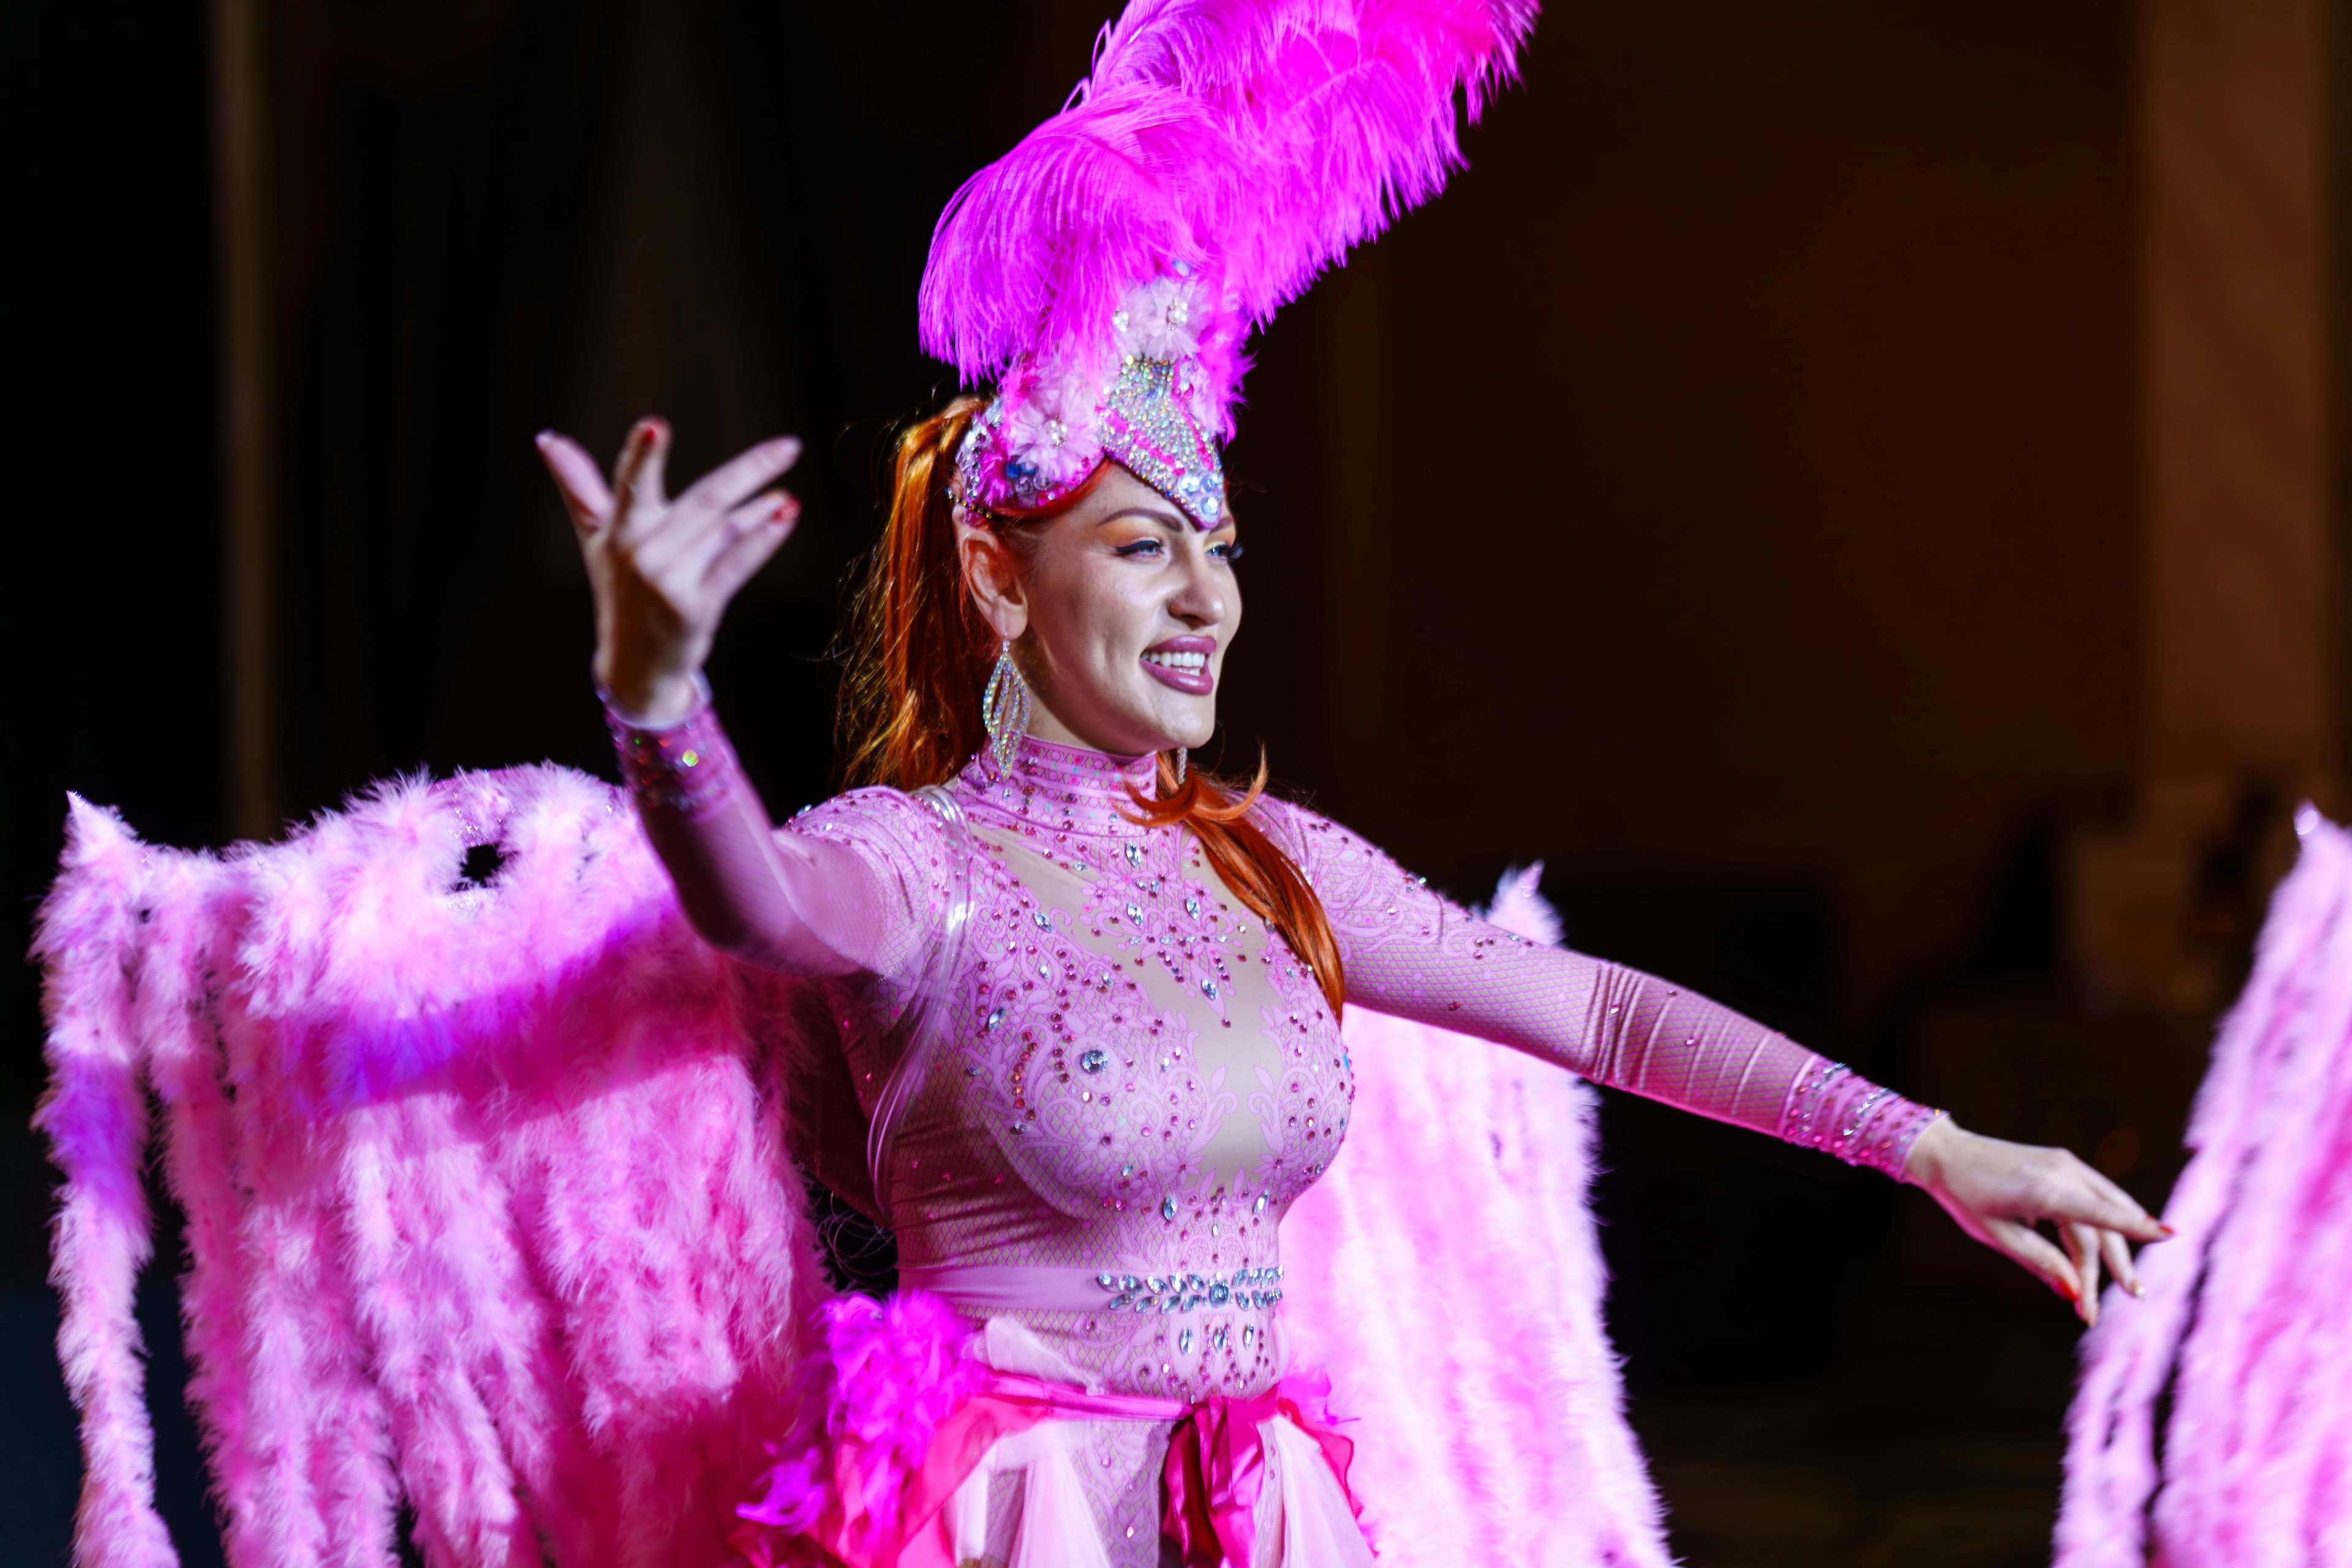
There is always a trade-off. A wider aperture can blur more of the background. A slower shutter speed can blur movement. A higher ISO can introduce more noise.
The exposure triangle is about balancing based on your situation, making the decision on which tradeoff is acceptable for your given situation.
The easiest way to practise
You do not need to switch straight to full Manual mode. Try Aperture Priority, often called A or Av, first. You choose the aperture and the camera adjusts other settings to help you get a usable exposure. Keep an eye on the shutter speed so it does not become too slow.
Then try this short exercise:
- Find a person or object near a window or outdoors.
- Keep the camera in the same place and take one photo at f/2.8 and another at f/8, if your lens supports those values. Compare the background.
- Photograph a moving subject, like a fan, or your sibling, or a car passing by, at 1/500 second and 1/30 second in either Shutter Priority or Manual mode. Compare the motion blur.
- In a dim room, photograph a still object at a few ISO settings. Zoom in to see how the noise changes.
- Look at the settings recorded with each photo. Most cameras save these details in the image information by pressing a "Disp" or display button, or something similar.
One important tip: If you are comparing one setting, try to keep the scene and framing the same. Otherwise, it gets harder to tell what changed.
Quick reference
| Setting | Main creative effect | Common trade-off |
|---|---|---|
| Aperture | Background blur and depth of field | A smaller opening lets in less light |
| Shutter speed | Frozen action or motion blur | Faster speeds let in less light |
| ISO | Brightness in the recorded image | Higher values can increase visible noise |
Frequently asked questions
Is ISO the same as adding more light?
No. Raising ISO increases the recorded image brightness, but it does not cause more light to reach your camera's sensor.
What settings should I use for portraits?
For a single person outdoors, try f/2.8 to f/4, a shutter speed around 1/250 second or faster when there is movement, and an ISO that gives you a suitable brightness. Adjust for your lens, light and subject. If you add more people, consider a higher aperture, especially if they are at staggered distances from the camera.
Should I always shoot in Manual mode?
No, but you will have the most control in Manual mode. Aperture Priority and Shutter Priority are useful tools as a beginner, and can be even for experienced photographers. Learning to notice how settings change your picture matters more than using a certain mode (to an extent).
What should I learn next?
Practise finding good light and keeping the background simple. Great camera settings help, but a thoughtful photo still depends on what you choose to show.
If you want to see how these choices affect real work in brand films or live events, explore our brand stories and event coverage.
1TAKE STUDIO / TORONTO & THE GTA
Stories deserve to be told well.
Explore the photography and films that bring our work to life.
See our work ↗